
Switching to an eSIM might sound technical. It is not. In fact, it is one of the easiest phone upgrades you can make. No tiny plastic cards. No poking your phone with a paperclip. Just a quick digital switch. Ready to move your number to an eSIM? Let’s make it simple and even a little fun.
TL;DR: Transferring your number to an eSIM means turning your physical SIM into a digital one. First, check that your phone and carrier support eSIM. Then request an eSIM activation from your carrier and follow the setup steps on your device. The whole process usually takes just a few minutes.
What Is an eSIM, Anyway?
An eSIM is a digital SIM card. The “e” stands for embedded. It is built into your phone. You cannot remove it. You cannot lose it. You cannot drop it under your couch.
Instead of inserting a plastic SIM card, you download a “SIM profile” from your carrier. That profile connects your phone to your mobile network. Same number. Same service. No tiny tray.
In short: an eSIM works like a regular SIM. It just lives inside your phone.
Why Transfer Your Number to an eSIM?
You might be wondering, “Why bother?” Good question. Here are some solid reasons.
- No physical SIM card needed. No more swapping tiny chips.
- Dual SIM magic. You can use a physical SIM and eSIM together on many phones.
- Great for travel. Add a local data plan without removing your main number.
- More secure. Harder for someone to steal your SIM.
- Cleaner design. Fewer moving parts in your phone.
It is convenient. It is modern. And it is quickly becoming standard.
Step 1: Check If Your Phone Supports eSIM
Before you do anything, check your device.
Most newer smartphones support eSIM. This includes:
- Recent iPhones (XR and newer)
- Many Samsung Galaxy models
- Google Pixel 3 and newer
- Other modern flagship phones
To check:
- Open your phone’s Settings.
- Go to Mobile Data or Connections.
- Look for Add eSIM or Add Mobile Plan.
If you see it, you are good to go.
If not, your phone may not support eSIM. In that case, you will need to stick with a physical SIM for now.
Step 2: Make Sure Your Carrier Supports eSIM
Not all carriers support eSIM. Most major ones do. Many smaller ones do too. But always check.
You can:
- Visit your carrier’s website.
- Use their support chat.
- Call customer service.
- Go to a retail store.
Ask one simple question:
“Can I transfer my current number to an eSIM?”
If they say yes, great. Move to the next step.
Step 3: Back Up Your Phone
This step is optional. But it is smart.
Before changing anything related to your network, back up your device.
- On iPhone: Use iCloud or a computer backup.
- On Android: Use Google backup or your device’s built-in tools.
It usually goes smoothly. Still, a backup gives peace of mind.
Step 4: Request an eSIM Activation
Now the real action begins.
You need your carrier to convert your physical SIM to an eSIM. This is sometimes called a SIM swap or SIM conversion.
There are three common ways carriers handle this:
- They send you a QR code.
- They give you a carrier app to download the eSIM.
- They activate it automatically in-store.
If you get a QR code, you will scan it with your phone. Easy.
Step 5: Install the eSIM on Your Phone
The exact steps depend on your phone. But it usually looks like this.
On iPhone:
- Open Settings.
- Tap Cellular.
- Tap Add Cellular Plan.
- Scan the QR code.
- Follow the on-screen instructions.
On Android:
- Open Settings.
- Tap Connections or Network & Internet.
- Select SIM card manager or Mobile Network.
- Tap Add eSIM.
- Scan the QR code or enter the details manually.
Your phone will download the eSIM profile. This takes a minute or two.
Once installed, your device may restart. That is normal.
Step 6: Confirm Your Number Is Active
After activation, test everything.
- Make a call.
- Send a text message.
- Turn mobile data off and on.
If everything works, you are done. Welcome to the eSIM world.
If not, contact your carrier. Sometimes activation takes a few extra minutes.
What Happens to Your Physical SIM?
Good question.
In most cases, your physical SIM becomes deactivated once the eSIM takes over. It stops working.
You can remove it from your phone. Or leave it there if your device supports dual SIM and you want to use another number later.
Some people keep the old SIM as a backup. That is fine. Just remember, it likely no longer works.
Using Dual SIM with eSIM
This is where things get interesting.
Many phones allow you to use:
- One physical SIM + one eSIM
- Or even two eSIMs (depending on the device)
This means you can:
- Keep your personal and work numbers separate.
- Use a travel data plan abroad.
- Compare carriers for better coverage.
You can label lines like “Work” and “Personal.” You can choose which line handles calls or data. It is flexible and simple once set up.
Common Problems (And Easy Fixes)
Most transfers go smoothly. But sometimes small issues pop up.
Problem: QR Code Won’t Scan
- Make sure your camera is clean.
- Increase screen brightness of the QR code device.
- Request a new QR code from your carrier.
Problem: No Signal After Setup
- Restart your phone.
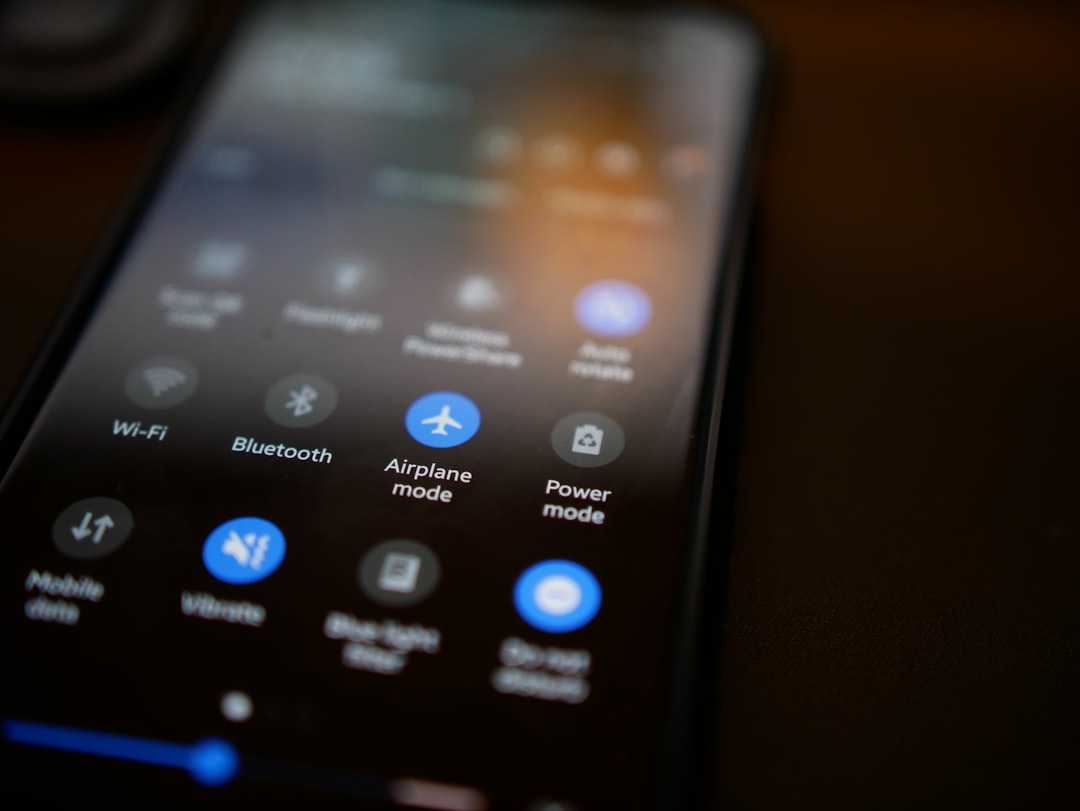
- Toggle airplane mode on and off.
- Check that the eSIM line is turned on in settings.
Problem: Stuck on Activating
- Wait a few minutes.
- Connect to Wi-Fi.
- Contact support for manual activation.
Most issues are quick fixes. Do not panic.
Can You Transfer an eSIM to a New Phone?
Yes. But the steps vary.
Some carriers allow direct eSIM transfer between devices. Others require a new QR code.
Usually, the process looks like this:
- Remove the eSIM from your old phone.
- Request transfer from your carrier.
- Install the eSIM on the new phone.
Always check your carrier’s instructions before upgrading phones.
Is eSIM Safe?
Yes. In many ways, it is safer.
With a physical SIM, someone could remove it and put it into another device. With eSIM, that is much harder.
Carriers also use identity checks before transferring numbers. This helps prevent fraud.
Still, protect yourself:
- Use strong passwords.
- Enable two-factor authentication.
- Set a SIM lock or PIN if available.
Digital does not mean careless. Stay smart.
How Long Does It Take?
Usually less than 10 minutes.
If done in-store, it can be almost instant. If done online, you may wait a few minutes for activation.
Rare delays happen. But they are not common.
Final Thoughts
Transferring your number to an eSIM is not complicated. It just sounds that way.
Here is the simple version again:
- Check your phone supports eSIM.
- Confirm your carrier supports it.
- Request an eSIM activation.
- Install it using a QR code or app.
- Test your number.
That is it.
No tiny trays. No lost SIM cards. No paperclip emergencies.
Just a smooth digital switch.
Technology should make life easier. eSIM does exactly that. Once you switch, you may never want to go back.

