
Movavi Video Converter on Mac is a practical choice if you need fast video conversion without turning a simple job into a technical project. It works best for users who want to convert files for iPhone, iPad, YouTube, TVs, presentations, or storage reduction while keeping control over format, resolution, bitrate, and file size.
TLDR: Movavi Converter Mac is useful for converting videos between common formats such as MP4, MOV, AVI, MKV, and WebM, with device presets that save time. For example, a 1.2 GB 4K MOV clip from an iPhone can often be converted to a smaller 1080p MP4 for email or cloud sharing with far less hassle than using manual encoder settings. In a typical workflow, batch conversion can cut repetitive export work by 50% or more when handling several files. The best results usually come from choosing MP4 with H.264 or H.265, then adjusting resolution and bitrate based on where the video will be watched.
What Movavi Video Converter for Mac Does
Movavi Video Converter for Mac converts video, audio, and image files into formats that suit different devices and platforms. It is designed for regular users, creators, teachers, marketers, and office teams who need clean output without learning command-line tools.
The software supports many common formats, including MP4, MOV, AVI, MKV, WMV, WebM, MPEG, MP3, WAV, FLAC, AAC, PNG, JPG, and others. Format availability can vary by version, so check the current Movavi format list if you depend on a rare codec.
Its main strengths are simple: batch conversion, ready-made presets, compression controls, basic editing, subtitle support, and hardware acceleration on supported Macs. The catch is that advanced users may find the encoder controls less detailed than specialist tools such as FFmpeg or HandBrake.
How to Use Movavi Converter on Mac
The workflow is straightforward. You add files, choose an output format, adjust settings, pick a destination folder, and start conversion.
- Install Movavi Video Converter for Mac. Download it from the official Movavi website to avoid modified installers.
- Add your media. Click Add Media and import videos, audio files, or images.
- Choose an output format. Select Video, Audio, or Devices, then pick the target profile.
- Adjust quality settings. Set resolution, codec, bitrate, frame rate, and audio options if needed.
- Select the save folder. Choose a location with enough free storage.
- Start conversion. Click Convert and wait for the process to finish.
For most users, the safest default is MP4 with H.264. It plays almost everywhere, including macOS, iOS, Android, Windows, smart TVs, and web browsers. If you need smaller files and playback support is not a problem, H.265 can reduce file size while keeping solid visual quality.
Best Formats to Use on Mac
Choosing the right format matters more than many people think. A wrong choice can cause poor playback, huge files, or failed uploads.
- MP4: Best general option. Use it for sharing, phones, social platforms, and web uploads.
- MOV: Good for Apple workflows and editing in apps that prefer QuickTime files.
- MKV: Useful for storing high-quality files with multiple audio tracks or subtitles.
- AVI: Older format. Use only when required by old software or hardware.
- WebM: Good for web use, especially when small size matters.
- MP3 or AAC: Choose these when extracting audio from a video.
Honestly, it feels like format names were made to annoy normal users. The simple rule is this: use MP4 for compatibility, MOV for Apple editing, MKV for archiving, and WebM for websites.
Quality Settings That Matter
Movavi gives you several controls that affect output quality and file size. You do not need to change everything. Focus on the settings below.
Resolution
Resolution controls image size. Common options are 720p, 1080p, 1440p, and 4K. Do not upscale a low-resolution video unless you have a clear reason. Turning a 720p file into 4K will not create real 4K detail. It only makes the file larger.
Bitrate
Bitrate has a major effect on quality and file size. Higher bitrate means better detail but larger files. Lower bitrate saves space but can add blur, blocky areas, or banding.
- 720p: around 2,500 to 5,000 kbps for general use.
- 1080p: around 5,000 to 10,000 kbps for good quality.
- 4K: around 20,000 to 50,000 kbps, depending on motion and detail.
Sports footage, game recordings, and fast camera movement need more bitrate. A static lecture video can use much less.
Codec
A codec compresses the video inside the format container. H.264 is the safest option. H.265 is more efficient, but older devices may not play it smoothly. For archiving or pro editing, you may need higher-quality formats, but file sizes will rise quickly.
Frame Rate
Keep the original frame rate unless you have a specific requirement. Common rates include 24 fps, 25 fps, 30 fps, and 60 fps. Reducing 60 fps to 30 fps can shrink files, but motion will look less smooth.

Compression: How to Reduce File Size Without Ruining Quality
Movavi includes compression tools that let you target a smaller output size. This is useful when you need to send a file by email, upload it to a platform with limits, or save storage on a MacBook with a small SSD.
To compress well, reduce settings in this order:
- Change codec to H.265 if the target device supports it.
- Lower bitrate slightly instead of making a drastic cut.
- Reduce resolution from 4K to 1080p if the video will be viewed on phones or laptops.
- Trim unwanted parts before conversion.
- Lower audio bitrate if audio is not the focus.
Expect to waste time on trial exports if you need a precise file size. A short 20-second test conversion helps. Check motion, skin tones, text sharpness, and dark scenes before processing the full video.
Batch Conversion and Presets
Batch conversion is one of Movavi’s most useful features. You can add many files, assign an output profile, and convert them together. This helps when preparing course videos, client clips, social media versions, or old file collections.
Device presets are also helpful. Instead of guessing the right format for an iPhone, iPad, Android phone, or TV, you can choose a preset and let Movavi apply suitable settings. This reduces mistakes, especially for users who do not know codec details.
Still, presets are not perfect. If quality looks soft, open the settings and raise the bitrate. If the file is too large, lower the bitrate or resolution.
Basic Editing Before Conversion
Movavi Video Converter is not a full video editor, but it includes useful preparation tools. You can trim clips, crop the frame, rotate footage, add subtitles, adjust volume, and remove unwanted sections. These small edits can save a second trip through another app.
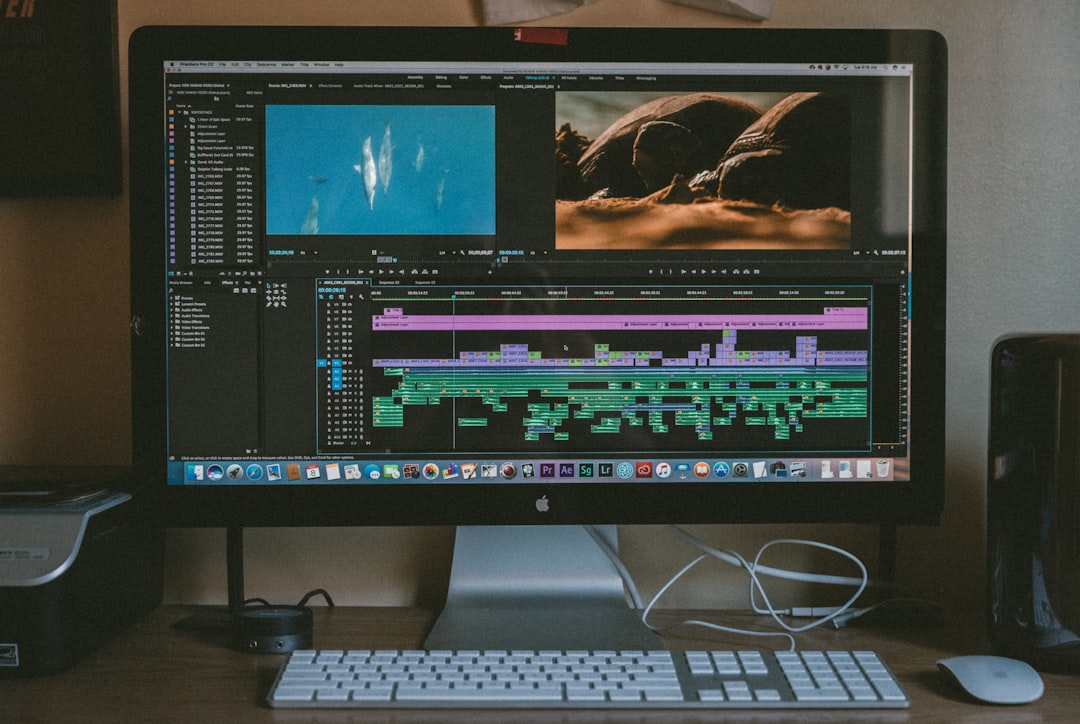
For serious color work, complex transitions, or multi-track editing, use dedicated editing software first. Then export a master file and use Movavi for final conversion or compression.
Performance on Mac
Conversion speed depends on your Mac model, source file, output settings, and hardware acceleration support. Apple silicon Macs usually handle video encoding very well. Large 4K files still take time, especially when converting to H.265 or applying compression.
Close heavy apps before processing long videos. Keep your Mac plugged in. Make sure there is enough disk space, since temporary files can take more room than expected.
Practical Recommended Settings
- For YouTube: MP4, H.264, original frame rate, 1080p or 4K, high bitrate.
- For email: MP4, H.264 or H.265, 720p or 1080p, reduced bitrate.
- For iPhone playback: MP4, H.264, AAC audio, device preset if unsure.
- For archiving: Keep original resolution and use a high bitrate. Avoid heavy compression.
- For extracting audio: MP3 for general use, WAV or FLAC for higher quality.
Final Verdict
Movavi Converter Mac is a dependable tool for everyday video conversion, compression, and format changes. It is easy enough for beginners but still gives control over the settings that affect quality most. Use MP4 with H.264 for maximum compatibility, H.265 for smaller files, and manual bitrate settings when quality matters. If you need deep encoder control, you may outgrow it, but for most Mac users it gets the job done cleanly and quickly.

