

Running into the ene.sys driver error in Windows 11 can feel scary. Your screen may flash blue. Your PC may restart. You might see strange error codes. Don’t panic. This issue is common and fixable. In most cases, it’s caused by a bad driver, outdated software, or system corruption. Let’s break it down in a simple and fun way.
TL;DR: The ene.sys driver error in Windows 11 is usually caused by outdated or corrupted drivers. You can fix it by updating drivers, running built-in repair tools, disabling conflicting software, or restoring your system. Most fixes take less than 15 minutes. Follow the steps below one by one, and your PC should be back to normal.
But first… what is ene.sys?
The ene.sys file is part of an ENE device driver. It is often linked to RGB lighting controllers, input devices, or motherboard utilities. If something goes wrong with that driver, Windows 11 may crash or show a Blue Screen of Death (BSOD).
1. Update the ENE Driver
This is the easiest fix. And often the one that works.
An outdated or corrupted driver is the most common cause of the ene.sys error. Updating it can instantly solve the issue.
Here’s what to do:
- Right-click the Start button.
- Click Device Manager.
- Look for anything related to ENE or unknown devices.
- Right-click it and choose Update driver.
- Select Search automatically for drivers.
If Windows finds a better driver, install it and restart your PC.
Pro tip: You can also visit your motherboard or laptop manufacturer’s website and download the latest driver manually.
2. Run Windows Update
Windows 11 updates often include driver fixes and stability patches.
Even if you think you’re up to date, check again.
- Open Settings.
- Click Windows Update.
- Select Check for updates.
- Install everything available.
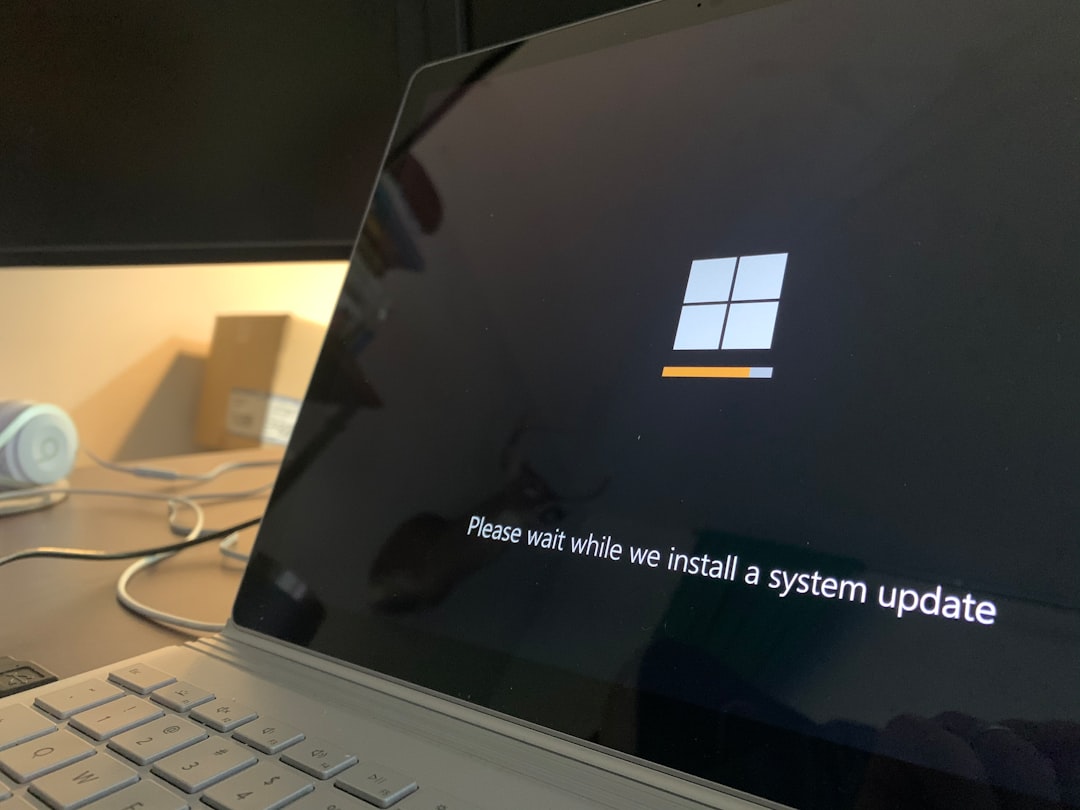
Restart your computer. Then see if the error appears again.
Simple. But powerful.
3. Use System File Checker (SFC)
If ene.sys is corrupted, Windows has a built-in repair tool.
It’s called System File Checker. And it’s very easy to use.

Steps:
- Press Windows + S.
- Type Command Prompt.
- Right-click it and select Run as administrator.
- Type:
sfc /scannow - Press Enter.
Wait for the scan to complete. This may take a few minutes.
If corrupted files are found, Windows will repair them automatically.
4. Run DISM for Deep Repair
If SFC doesn’t fix it, try a stronger tool.
DISM (Deployment Imaging Service and Management Tool) goes deeper into Windows system files.
How to run it:
- Open Command Prompt as administrator.
- Type:
DISM /Online /Cleanup-Image /RestoreHealth - Press Enter.
Let it finish. It may take 10–15 minutes.
When done, restart your computer.
This combo (SFC + DISM) fixes most system corruption problems.
5. Uninstall Problematic RGB or Control Software
ENE drivers are often connected to RGB lighting software or hardware control apps.
If you recently installed one, it may be the cause.
Common examples include:
- RGB motherboard tools
- Keyboard lighting software
- Fan control programs
- Third-party hardware utilities
To uninstall:
- Open Settings.
- Click Apps.
- Select Installed apps.
- Find suspicious or recently added programs.
- Click Uninstall.
Restart your PC.
If the error disappears, you found the culprit.
6. Use System Restore
If everything was working fine a few days ago, revert your system.
System Restore takes your PC back in time. Your files stay safe. Only system files and drivers change.
Steps:
- Press Windows + S.
- Type Create a restore point.
- Click System Restore.
- Choose a restore point from before the issue started.
- Follow the prompts.
Your computer will restart.
In many cases, this fully removes the ene.sys error.
7. Disable Driver Verifier (If Enabled)
Sometimes the problem isn’t the driver.
It’s Driver Verifier, a Windows testing tool that stresses drivers and can trigger crashes.
If you enabled it before, disable it now.
How:
- Open Command Prompt as administrator.
- Type:
verifier /reset - Press Enter.
- Restart your PC.
If the crashes stop, that was the trigger.
Quick Comparison of Repair Tools
If you’re unsure which fix to try first, here’s a simple comparison chart:
| Tool / Method | Best For | Difficulty | Time Needed |
|---|---|---|---|
| Driver Update | Outdated or faulty ENE driver | Easy | 5–10 minutes |
| Windows Update | Missing system patches | Easy | 5–15 minutes |
| SFC Scan | Corrupted system files | Easy | 10 minutes |
| DISM Tool | Deep system image repair | Medium | 15 minutes |
| Uninstall Software | RGB or hardware conflicts | Easy | 5 minutes |
| System Restore | Recent system changes | Medium | 15–20 minutes |
| Driver Verifier Reset | Testing tool causing crashes | Medium | 5 minutes |
Bonus Tip: Check for BIOS Updates
This is optional. But powerful.
If ene.sys is tied to your motherboard, a BIOS update might fix compatibility issues.
Visit your motherboard manufacturer’s website. Compare your current BIOS version with the latest one available.
Warning: Only update BIOS if necessary. Follow official instructions carefully.
When to Seek Professional Help
If none of these steps work, you might be dealing with:
- Hardware failure
- Faulty motherboard controller
- Deep Windows corruption
At that point, consider:
- Resetting Windows 11
- Contacting your device manufacturer
- Visiting a certified technician
But in most cases, you won’t need to go that far.
Final Thoughts
The ene.sys driver error in Windows 11 looks intimidating. But it’s usually not serious.
Start simple. Update drivers. Run basic scans. Remove suspicious software.
Work through the list step by step.
Most users fix the problem within 30 minutes.
You’ve got this.
And next time you see a driver error? You’ll know exactly what to do.