
Better-sounding tracks rarely come from a single expensive microphone, plug-in, or “magic” preset. They are usually the result of careful decisions made before, during, and after recording. Whether you are producing vocals, guitars, drums, podcasts, or full arrangements, the goal is the same: capture a clean, controlled signal that leaves plenty of room for mixing.
TLDR: Focus first on the performance, room, mic placement, and gain staging before relying on editing or effects. For example, moving a vocal microphone from 10 cm to 20 cm away can reduce harsh proximity buildup and make compression easier later. In a typical home studio, even a modest acoustic improvement can reduce unwanted reflections noticeably; treating just the first reflection points and the area behind the singer may improve clarity more than buying another plug-in. Record with peaks around -12 dBFS to -6 dBFS, listen critically, and fix problems at the source.
Start With the Source
The most important recording tip is also the most overlooked: make the sound good before it reaches the microphone. A weak vocal performance, poorly tuned guitar, rattling snare drum, or noisy amplifier will not become professional simply because it is recorded at high resolution. Before pressing record, check tuning, intonation, timing, instrument condition, and the player’s comfort.
For vocals, encourage the singer to warm up, hydrate, and take short breaks. For guitars, change old strings if brightness and tuning stability matter. For drums, tune each drum carefully and remove sympathetic rattles. The better the original performance sounds in the room, the less processing you will need later.
Control the Recording Environment
Room sound is part of every recording, even when you use a close microphone. Untreated rooms often add boxiness, flutter echo, harsh reflections, and low-frequency buildup. These problems are especially common in small bedrooms, square rooms, and spaces with bare walls.
You do not need a world-class studio to improve the situation. Use basic acoustic control:
- Place absorptive material behind and beside the performer to reduce early reflections.
- Avoid corners when recording vocals or acoustic instruments, because low frequencies build up there.
- Use rugs, curtains, and bookshelves to reduce harsh reflections, but do not rely on thin foam to solve bass problems.
- Turn off noise sources such as fans, air conditioners, refrigerators, computer alerts, and buzzing lights.
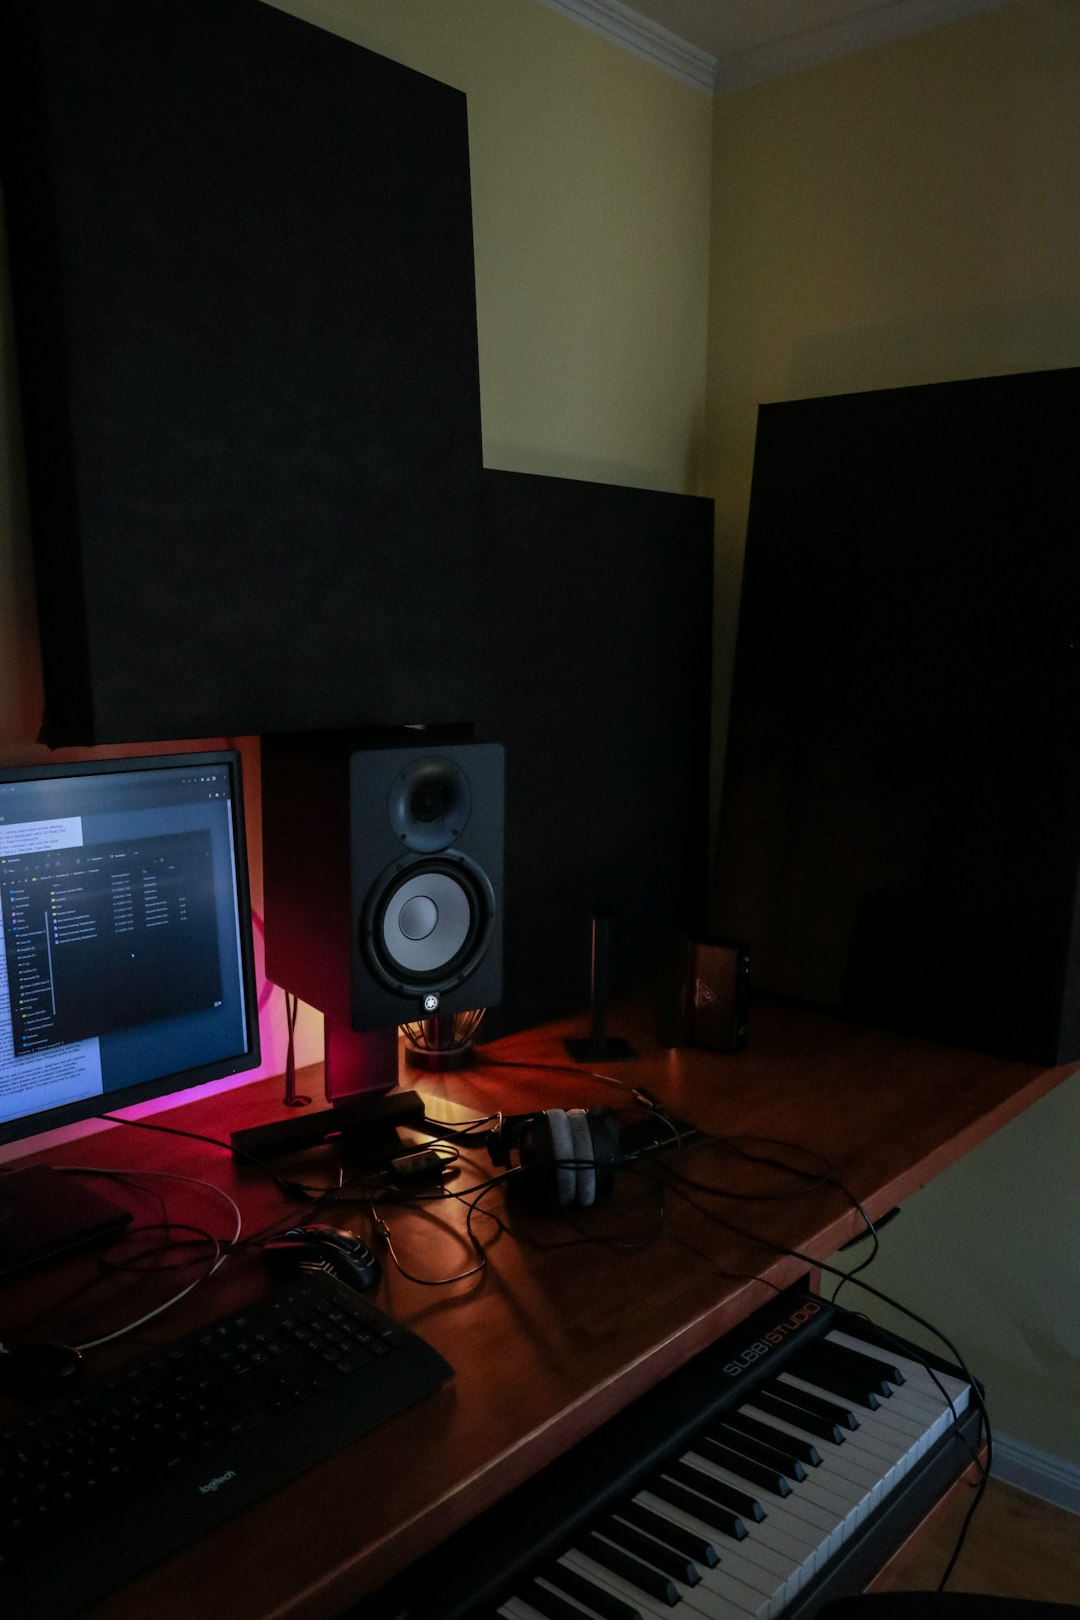
A quiet, controlled room gives you more freedom in mixing. It also helps compression and EQ behave more predictably because you are processing the instrument, not the room’s flaws.
Choose the Right Microphone for the Job
There is no single “best” microphone. A microphone is a tool, and the right choice depends on the source, room, and desired sound. Dynamic microphones are often useful for loud instruments, aggressive vocals, guitar cabinets, and untreated rooms because they tend to capture less room ambience. Condenser microphones usually provide more detail and sensitivity, making them strong choices for vocals, acoustic guitar, piano, and strings in controlled spaces.
Ribbon microphones can sound smooth and natural, especially on brass, guitar amps, and bright sources, but they may require careful handling and enough clean gain. If a microphone sounds harsh, thin, or overly boomy, do not immediately reach for EQ. Try a different microphone or reposition the one you have.
Mic Placement Matters More Than Most Gear
Small changes in microphone placement can dramatically change the recording. Moving a mic a few centimeters can alter tone, brightness, bass response, and room balance. This is why serious engineers spend time listening before committing to a take.
For vocals, start with the microphone roughly 15 to 20 cm from the singer, slightly off axis to reduce plosives and harsh consonants. Use a pop filter, and ask the vocalist to maintain a consistent distance. For acoustic guitar, avoid pointing directly at the sound hole, which often creates boominess. A reliable starting position is around the 12th fret, angled slightly toward the body.
For guitar amplifiers, start with the microphone near the speaker grille, between the center and edge of the cone. Closer to the center usually sounds brighter; closer to the edge usually sounds warmer. For drums, phase relationships become critical, so always check how microphones interact with each other.
Set Proper Gain Levels
Modern digital recording does not require recording as hot as possible. In fact, recording too loudly is one of the easiest ways to ruin a take. Digital clipping is unforgiving, and even if a track does not visibly clip, overloaded preamps or plug-ins may introduce unpleasant distortion.
A dependable target is to record with average levels well below 0 dBFS and peaks around -12 dBFS to -6 dBFS. This provides headroom for unexpected loud moments and makes mixing easier. If the signal is too quiet, raise the preamp gain; if it is too loud, lower it. Avoid fixing gain problems only with software after the fact.
Good gain staging is not about being timid; it is about preserving detail and preventing damage you cannot undo.
Use Headphones and Monitoring Carefully
Monitoring affects performance. If singers cannot hear themselves clearly, they may sing out of tune, push too hard, or lose confidence. Create a headphone mix that supports the performer, not one that simply mirrors the session. Vocals often benefit from a little reverb in the headphones, even if you record the dry signal.
Use closed-back headphones for recording to prevent bleed into microphones. Keep headphone volume reasonable, especially when recording vocals near sensitive condenser microphones. Excessive headphone bleed can become obvious during quiet sections or heavy compression.
Record Multiple Takes, but Stay Organized
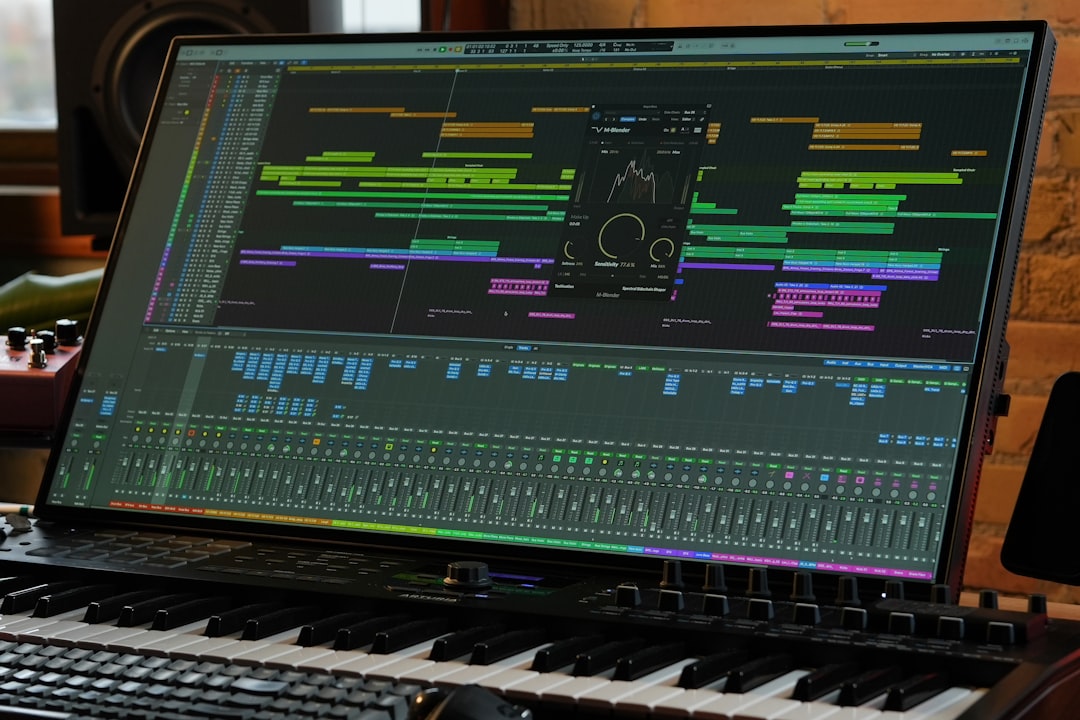
Multiple takes give you options, but disorganized sessions slow down production and encourage poor decisions. Name tracks clearly, label playlists or takes, and write down useful notes. Instead of recording endlessly, define what you are looking for: tighter timing, better emotion, cleaner pronunciation, stronger pitch, or improved tone.
- Record a safety take after the performer feels they have nailed it.
- Mark strong sections immediately while your memory is fresh.
- Do not over edit too early; first decide which performance communicates best.
Pay Attention to Phase and Polarity
When using more than one microphone on a source, phase issues can make recordings sound thin, hollow, or unfocused. This is common with drums, stereo acoustic guitar, piano, and multi-miked guitar cabinets. If two microphones capture the same sound at slightly different times, certain frequencies may cancel.
Always listen in mono when setting up multi-mic recordings. Flip polarity on one channel if needed and choose the position that gives the fullest, most natural sound. Do not assume that a visually symmetrical setup is automatically correct. Trust your ears, but verify with meters and mono playback.
Record Dry, Commit Intentionally
In many cases, it is wise to record a clean, dry signal and add effects later. This gives you flexibility during mixing. However, there are exceptions. If an effect is central to the identity of the sound, such as a guitarist’s pedal chain or a synth patch with modulation, committing can strengthen the production.
The key is intention. Do not print heavy reverb, delay, distortion, or compression just because it sounds exciting in the moment. Ask whether the effect improves the final track or merely hides a weak source. When in doubt, record both: one processed track and one clean backup.
Do Light Editing Before Mixing
Mixing is not the same as repairing. Before you begin EQ and compression, clean up obvious problems. Remove unwanted noise between phrases, fix major timing issues, choose the best takes, and apply fades to prevent clicks. Vocal comping, drum tightening, and noise cleanup should be done carefully, without making the track feel artificial.
Editing should support the performance, not erase its character. A technically perfect track that feels lifeless is rarely better than a slightly imperfect one with conviction.
Make Decisions With Reference Tracks
Reference tracks help you stay objective. Choose commercially released songs in a similar style and compare them at matched volume. Listen for vocal brightness, low-end balance, drum punch, stereo width, and overall density. The goal is not to copy the reference but to understand the standard your production must compete with.
Be careful with loudness. A louder track almost always seems better at first. Level-match your references so you judge tone and balance accurately rather than being impressed by volume alone.
Back Up Everything
Professional recording practice includes reliable backup habits. After every session, save the project, consolidate important audio files, and back up to at least one separate drive or cloud location. Losing a strong performance because of poor file management is avoidable and unacceptable.
Use clear naming conventions such as Artist Song Date Version. Keep raw recordings, edited sessions, and final mixes separated. This discipline protects your work and makes collaboration easier.
Final Thoughts
Producing better-sounding tracks is not about chasing every new piece of gear. It is about disciplined listening, careful preparation, and making informed choices at each stage of recording. Focus on the source, manage the room, place microphones deliberately, record at safe levels, and stay organized.
When these fundamentals are handled well, mixing becomes less about rescuing damaged audio and more about enhancing a strong recording. That is where professional-sounding production truly begins.

